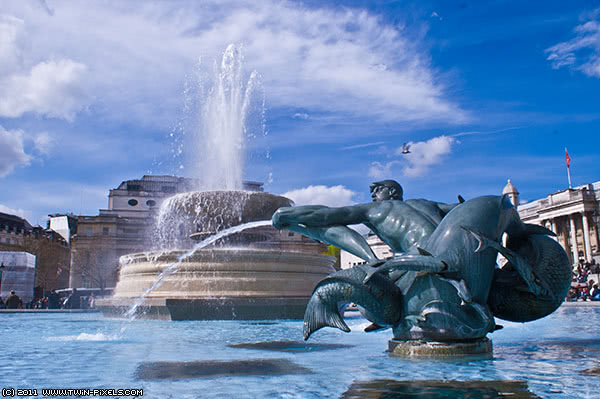
Depth of field is one of the fundamental “tools” for creative photography. If we know it well and use it efficiently we can create spectacular photographs and avoid a lot of mistakes.

What is the Depth of field (DoF) ?
Cameras produce different results depending on the opening of the aperture. At a value of F/2.8, for example, if you focus on an object or face relatively close to the camera, the the background will be blurry. At a value of F/32 it’s exactly the opposite. So if the opening of the aperture is smaller we will see our objects in the picture much clearly, the bigger the opening of the diaphragm is, the blurrier the background.
Depth of field refers to the area (depth) in front and in the back of the focus distance that is sharp, while the rest becomes blurry. A wide depth of field will result in much of the photo in focus. A narrow depth of field will result in much more of the photo out of focus.


How do we adjust the DoF ? We do it by modifying the value of the aperture. For instance on a compact camera you can easily see on the LCD how the DoF changes with the changing of the opening of the aperture. For the DSLR cameras the effect is more spectacular (see the advanced tips for an explanation).
So what you should always remember is this : If the aperture is wide open you will have a smaller F-value on your camera and will result in a narrow depth of field which will make the background of your photo blurry. LARGE APERTURE = SMALL F-value = NARROW DEPTH OF FIELD
In the opposite case, if the aperture is tiny, the value number on your camera will be bigger which will result in a larger depth of field, meaning that your picture will not have a blurry background.
SMALL APERTURE = BIG F-value =WIDE DEPTH OF FIELD
Also, be aware that the DoF also depends on the focus distance. The closer the subject to the camera, the narrower the Depth of Field is.
How to use DoF properly:
1. To bring attention to a subject near the camera by blurring the background you should use values like F/2.8 or F/4. This is very useful for portrait pictures where we want our subject to be the main attraction in the photo and we don’t care that much about the background. The face of the subject will be in focus while the background will be blurry. At F/2.8 and larger apertures (F/2.0, F/1.8, etc.) you have to be very careful as the depth of field is just a few millimeters. For portraits, make sure you focus on the eyes.

2. With landscapes and many architectural shots, you’ll want most of your image to be in focus, so choose an aperture of F/16. The same is true when photographing small objects, with the camera close to the subject and you want the whole object in focus; there you may need even apertures of F/32.

3. When choosing a focus point, keep in mind that DoF extends behind and in the front of the focus point.
4. For a better looking photos use a tripod if your camera/lens doesn’t have an image stabilization feature. Remember as you increase the value of the aperture you are letting less light get into the camera which will result in your picture being darker. You will need to adjust the shutter speed to compensate, which may result in shaky pictures.
Note : Depending of your camera model you can change the ISO but keep in mind that the bigger the ISO value, the more noise you will have in your picture. Know your camera and decide what’s the maximum ISO you can live with in terms of image quality.
4. Your focal length is usually determined by your choice of composition, but you should know how it affects your depth of field. Longer focal lengths (200mm) have less depth of field than shorter focal lengths (35mm). Technically this is more complex than that (it involves concepts such as “circle of confusion”) for for this guide it should be enough.
Advanced tips
Lenses do not perform equally well at all aperture values. At their largest aperture opening (F/2.8, F/4) lenses tend to be “softer”, e.g. the image is in focus but does not appear very sharp. At small apertures, usually beyond F/22 diffraction becomes a problem. You should experiment with your camera and see its weak and strong parts (my Tamron 70-200mm lens is a bit too soft at 135mm F/2.8)

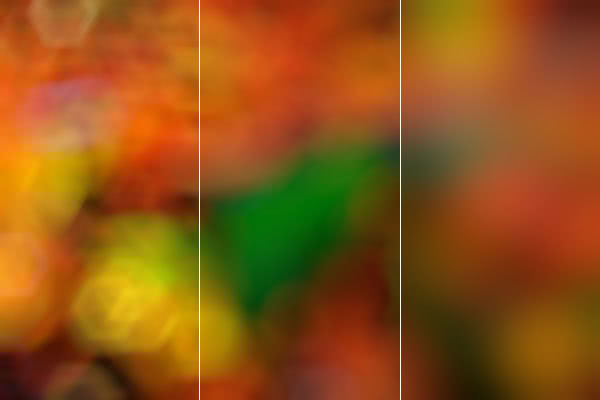
Out of focus areas create interesting light patterns. This effect is called “bokeh” (which is Japanese for “blurry”). Each lens has a different style. Usually a “creamy” bokeh, with indistinct areas, is considered more pleasing. The geometric shapes are determined by the number and shape of the aperture blades.


One Response
This is the best explanation of Depth of Field I have ever read. I found another website that has great tips also. Check out http://phototipsforbeginners.net/
Comments are closed.